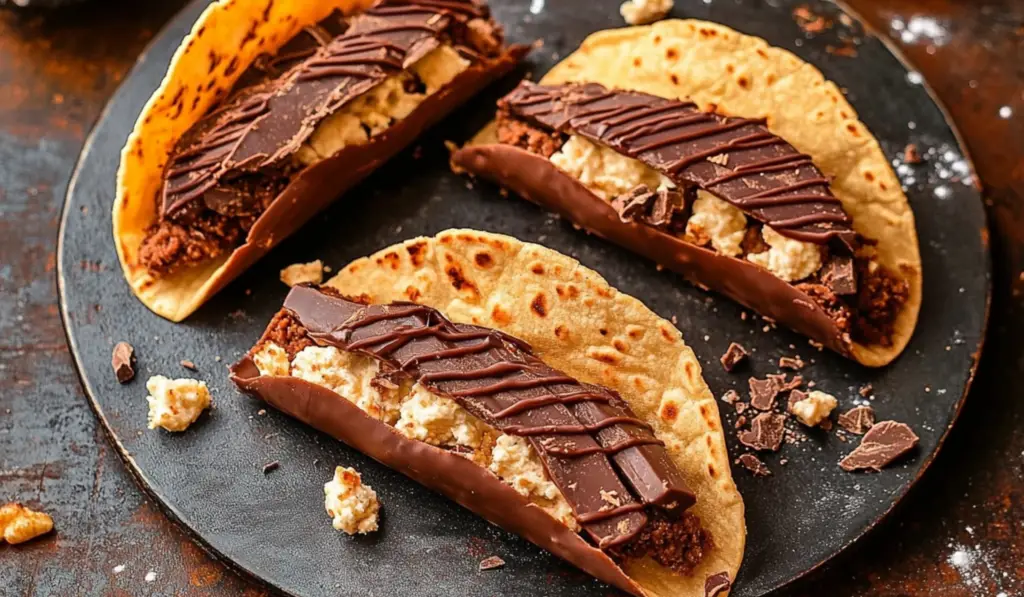
There’s something undeniably nostalgic about the first time you try a Choco Taco. Whether you were indulging in it at the beach, during a fun summer afternoon, or just as a special treat on a hot day, this unique dessert has a way of bringing back fond memories. The combination of crispy waffle cone, sweet and creamy ice cream, and rich chocolate coating topped with crunchy peanuts makes for a decadent and indulgent experience.
PrintHomemade Choco Tacos: A Nostalgic Treat Perfect for Summer

There’s something undeniably nostalgic about the first time you try a Choco Taco. Whether you were indulging in it at the beach, during a fun summer afternoon, or just as a special treat on a hot day, this unique dessert has a way of bringing back fond memories. The combination of crispy waffle cone, sweet and creamy ice cream, and rich chocolate coating topped with crunchy peanuts makes for a decadent and indulgent experience.
- Prep Time: 30 minutes
- Cook Time: 15 minutes
- Total Time: 4 hours 55 minutes
- Yield: 8–10 Choco Tacos 1x
- Category: Dessert
- Method: No-churn ice cream, waffle cone maker
- Cuisine: American
- Diet: Vegetarian
Ingredients
For the Ice Cream Base:
- 2 cups heavy cream (cold)
- 1 14oz can sweetened condensed milk
- 1 tbsp vanilla bean paste (or 2 tsp vanilla extract)
- Pinch of salt
For the Fudge Ripple:
- 2 tablespoons cocoa powder
- 2 tablespoons granulated sugar
- 2 tablespoons heavy cream
- 1 tablespoon unsalted butter
- ½ teaspoon vanilla extract
- Pinch of salt
For the Waffle Cones:
- 2 egg whites
- 3 ½ tablespoons granulated sugar
- 3 ½ tablespoons brown sugar
- ¾ teaspoon vanilla extract
- ⅛ teaspoon salt
- ⅔ cup flour
- 2 tbsp melted butter
For the Chocolate-Peanut Coating:
- 1 ½ cups chocolate chips
- 1 ½ tablespoon coconut oil
- ¾ cup finely chopped peanuts
Instructions
1. Prepare the Fudge Ripple: The fudge ripple is the first component to make, as it needs time to cool before being layered into the ice cream. Start by combining the cocoa powder, granulated sugar, and heavy cream in a small saucepan. Over medium-low heat, whisk the ingredients together until the mixture starts to heat up. Once warm, add the butter, stirring until it melts completely, creating a smooth and shiny texture. After removing the saucepan from the heat, whisk in the vanilla extract and salt. Set aside and allow the fudge to cool.
2. Prepare the Ice Cream Base: Next, it’s time to make the ice cream base. In a stand mixer, pour the cold heavy cream and beat it on high speed until stiff peaks form, which will take just a few minutes. In a separate bowl, mix the sweetened condensed milk, vanilla bean paste (or extract), and salt together. Once the whipped cream is ready, add about one cup of it to the condensed milk mixture, folding it gently to combine. Then, add the remaining whipped cream and continue folding until no lumps remain.
3. Layer the Ice Cream: To create the ripple effect in your homemade ice cream, pour a quarter of the ice cream base into a loaf pan. Drizzle a third of the cooled fudge sauce over the base, and then repeat the layering process, finishing with a final layer of the ice cream base. Cover the loaf pan and place it in the freezer to set for about 3 hours.
4. Make the Waffle Cones: Now comes the fun part—making the taco shells! Start by beating the egg whites, granulated sugar, brown sugar, and vanilla extract in a bowl until well combined. Once the mixture is smooth, add the salt, half of the flour, and continue mixing. Then, add the remaining flour and the melted butter, stirring until a thick batter forms.
Preheat your waffle cone maker to a medium-high heat. Place a heaping tablespoon of batter in the center of the waffle maker, then close it and cook until golden brown (this should take about 3 minutes depending on the waffle maker). Carefully remove the waffle cone from the maker using tongs, and quickly shape it into a taco shape with your hands. Hold the shell in place for about 15 seconds until it hardens. Repeat this process for all the taco shells and set them aside to cool.
5. Scoop the Ice Cream Into the Waffle Shells: After your waffle shells have cooled, it’s time to scoop the ice cream. Take your ice cream out of the freezer and allow it to soften for a few minutes to make scooping easier. Using a spoon or small spatula, scoop the ice cream into each taco shell, filling them generously. Smooth the top of the ice cream with the back of the spoon, and place the filled shells back in the freezer for another 10-15 minutes to allow the ice cream to firm up.
6. Prepare the Chocolate-Peanut Coating: While the ice cream firms up, prepare the chocolate-peanut coating. In a microwave-safe bowl, combine the chocolate chips and coconut oil. Microwave in 30-second intervals, stirring well between each interval, until the mixture is fully melted and smooth. Once melted, stir in the finely chopped peanuts.
7. Assemble the Choco Tacos: Once the ice cream has firmed up in the shells, it’s time to dip them in the chocolate-peanut mixture. Hold each taco by the shell and dip the top of the ice cream into the melted chocolate-peanut coating. Make sure the coating is thick and covers the ice cream completely. Place the coated taco back into the freezer for 5-10 minutes to allow the chocolate to harden.
8. Serve and Enjoy: Once the chocolate coating has set, your homemade Choco Tacos are ready to enjoy! You can store any leftover Choco Tacos in the freezer for later, but they are best enjoyed fresh when the chocolate coating is crisp and the ice cream is creamy.
Notes
- Make sure the ice cream is soft enough to scoop but not too melted. If the ice cream is too soft, it may drip out of the taco shells while you’re trying to fill them.
- Use a non-stick waffle cone maker to make sure the shells come out easily. If you don’t have a waffle cone maker, you can use a regular waffle maker, but the shells might not be as thin or as crisp.
- Add fun variations! If you want to change things up, try adding different flavor ice creams or toppings, such as crushed cookies, sprinkles, or drizzle with caramel sauce.
- Freeze the taco shells before dipping them into the chocolate coating. Cold taco shells help the chocolate set faster and prevent it from melting the ice cream.
- Make it dairy-free by using non-dairy ice cream and replacing the butter with non-dairy alternatives.
But what if you could make this delightful treat from scratch? Homemade Choco Tacos offer an exciting twist on the classic, combining the fun of a taco shell with the sweetness of ice cream and chocolate. With this homemade version, you can enjoy the perfect combination of crispy, creamy, and crunchy, all in one bite. This recipe will show you how to make Choco Tacos at home, from the creamy no-churn fudge-swirl ice cream to the crispy waffle taco shell, all dipped in a rich chocolate and peanut coating.
Ingredients: This homemade Choco Taco recipe calls for several components: the ice cream base, the fudge ripple, the waffle cones, and the chocolate-peanut coating. Each element plays an important role in creating the perfect balance of flavors and textures that make Choco Tacos irresistible.
For the Ice Cream Base:
- 2 cups heavy cream (cold)
- 1 14oz can sweetened condensed milk
- 1 tbsp vanilla bean paste (or 2 tsp vanilla extract)
- Pinch of salt
For the Fudge Ripple:
- 2 tablespoons cocoa powder
- 2 tablespoons granulated sugar
- 2 tablespoons heavy cream
- 1 tablespoon unsalted butter
- ½ teaspoon vanilla extract
- Pinch of salt
For the Waffle Cones:
- 2 egg whites
- 3 ½ tablespoons granulated sugar
- 3 ½ tablespoons brown sugar
- ¾ teaspoon vanilla extract
- ⅛ teaspoon salt
- ⅔ cup flour
- 2 tbsp melted butter
For the Chocolate-Peanut Coating:
- 1 ½ cups chocolate chips
- 1 ½ tablespoon coconut oil
- ¾ cup finely chopped peanuts
Step-by-Step Instructions:
1. Prepare the Fudge Ripple: The fudge ripple is the first component to make, as it needs time to cool before being layered into the ice cream. Start by combining the cocoa powder, granulated sugar, and heavy cream in a small saucepan. Over medium-low heat, whisk the ingredients together until the mixture starts to heat up. Once warm, add the butter, stirring until it melts completely, creating a smooth and shiny texture. After removing the saucepan from the heat, whisk in the vanilla extract and salt. Set aside and allow the fudge to cool.
2. Prepare the Ice Cream Base: Next, it’s time to make the ice cream base. In a stand mixer, pour the cold heavy cream and beat it on high speed until stiff peaks form, which will take just a few minutes. In a separate bowl, mix the sweetened condensed milk, vanilla bean paste (or extract), and salt together. Once the whipped cream is ready, add about one cup of it to the condensed milk mixture, folding it gently to combine. Then, add the remaining whipped cream and continue folding until no lumps remain.
3. Layer the Ice Cream: To create the ripple effect in your homemade ice cream, pour a quarter of the ice cream base into a loaf pan. Drizzle a third of the cooled fudge sauce over the base, and then repeat the layering process, finishing with a final layer of the ice cream base. Cover the loaf pan and place it in the freezer to set for about 3 hours.
4. Make the Waffle Cones: Now comes the fun part—making the taco shells! Start by beating the egg whites, granulated sugar, brown sugar, and vanilla extract in a bowl until well combined. Once the mixture is smooth, add the salt, half of the flour, and continue mixing. Then, add the remaining flour and the melted butter, stirring until a thick batter forms.
Preheat your waffle cone maker to a medium-high heat. Place a heaping tablespoon of batter in the center of the waffle maker, then close it and cook until golden brown (this should take about 3 minutes depending on the waffle maker). Carefully remove the waffle cone from the maker using tongs, and quickly shape it into a taco shape with your hands. Hold the shell in place for about 15 seconds until it hardens. Repeat this process for all the taco shells and set them aside to cool.
5. Scoop the Ice Cream Into the Waffle Shells: After your waffle shells have cooled, it’s time to scoop the ice cream. Take your ice cream out of the freezer and allow it to soften for a few minutes to make scooping easier. Using a spoon or small spatula, scoop the ice cream into each taco shell, filling them generously. Smooth the top of the ice cream with the back of the spoon, and place the filled shells back in the freezer for another 10-15 minutes to allow the ice cream to firm up.
6. Prepare the Chocolate-Peanut Coating: While the ice cream firms up, prepare the chocolate-peanut coating. In a microwave-safe bowl, combine the chocolate chips and coconut oil. Microwave in 30-second intervals, stirring well between each interval, until the mixture is fully melted and smooth. Once melted, stir in the finely chopped peanuts.
7. Assemble the Choco Tacos: Once the ice cream has firmed up in the shells, it’s time to dip them in the chocolate-peanut mixture. Hold each taco by the shell and dip the top of the ice cream into the melted chocolate-peanut coating. Make sure the coating is thick and covers the ice cream completely. Place the coated taco back into the freezer for 5-10 minutes to allow the chocolate to harden.
8. Serve and Enjoy: Once the chocolate coating has set, your homemade Choco Tacos are ready to enjoy! You can store any leftover Choco Tacos in the freezer for later, but they are best enjoyed fresh when the chocolate coating is crisp and the ice cream is creamy.
Tips for Perfect Homemade Choco Tacos:
- Make sure the ice cream is soft enough to scoop but not too melted. If the ice cream is too soft, it may drip out of the taco shells while you’re trying to fill them.
- Use a non-stick waffle cone maker to make sure the shells come out easily. If you don’t have a waffle cone maker, you can use a regular waffle maker, but the shells might not be as thin or as crisp.
- Add fun variations! If you want to change things up, try adding different flavor ice creams or toppings, such as crushed cookies, sprinkles, or drizzle with caramel sauce.
- Freeze the taco shells before dipping them into the chocolate coating. Cold taco shells help the chocolate set faster and prevent it from melting the ice cream.
- Make it dairy-free by using non-dairy ice cream and replacing the butter with non-dairy alternatives.

Conclusion:
Homemade Choco Tacos are an irresistible combination of crispy, creamy, and chocolatey goodness. With the ability to customize the ice cream flavors and toppings, this fun and nostalgic treat is perfect for any summer gathering or a special treat at home. Whether you make them for yourself or for friends and family, they’re sure to bring smiles and excitement to the table. The waffle cones are crispy yet tender, the homemade ice cream is perfectly creamy, and the chocolate-peanut coating adds a delightful crunch to each bite. Once you try these homemade Choco Tacos, you’ll never want to go back to the store-bought version again. So go ahead, get creative, and indulge in this sweet, crunchy, and creamy delight that everyone will love!


