Imagine a dessert so light and airy, it feels like a cloud melting on your tongue. That’s the magic of homemade Vanilla Mousse. This recipe, with its delicate vanilla flavor and velvety texture, is a testament to the beauty of simple ingredients. I remember the first time I attempted vanilla mousse. It was for a small, intimate gathering, and I wanted to create something special, something that would leave a lasting impression. The process, though it seemed daunting at first, was surprisingly rewarding. Watching the custard thicken, and then gently folding it into the whipped cream, was almost meditative. The final product, a light, ethereal mousse, was a hit. This recipe is perfect for beginner cooks who want to venture beyond basic desserts. While it involves a few steps, each is clearly explained and easy to follow. The process of making a custard and stabilizing whipped cream are valuable skills that will enhance your culinary repertoire. Plus, the light and refreshing nature of this dessert makes it a perfect ending to any meal, without feeling overly indulgent.

Vanilla Mousse: A Cloud of Creamy Delight

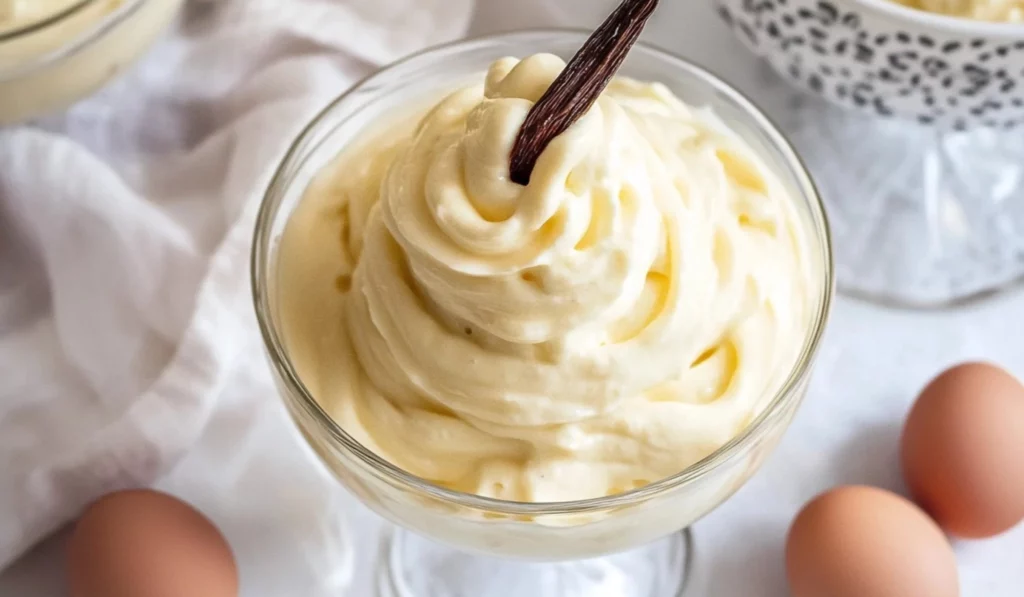
Enjoy a light and airy vanilla mousse, perfect for any occasion. A simple, yet impressive dessert for beginners.
- Prep Time: 30 minutes
- Cook Time: 15 minutes
- Total Time: 4 hours 45 minutes
- Yield: 6 servings 1x
- Category: Dessert
- Method: Chilling, Custard
- Cuisine: French-Inspired
Ingredients
- 1 ½ cups whole milk
- 4 large egg yolks
- ½ cup sugar
- 2 tablespoons cornstarch
- 1 vanilla bean
- 2 cups whipping cream
- 1 ½ teaspoons plain gelatin
- 2 tablespoons cold water
Instructions
Making the Vanilla Custard:
- Separate the Eggs: Separate the eggs carefully, placing the yolks in a small bowl. Set aside the egg whites for another use or discard them.
- Whisk the Yolks: In a separate bowl, whisk together the egg yolks, sugar, and cornstarch until the mixture is smooth and lump-free. If the mixture is too thick, add a tablespoon or two of milk to thin it out.
- Prepare the Vanilla Milk: Split the vanilla bean lengthwise with a sharp knife and scrape out the seeds. Add the seeds and the pod to a small pot and pour the milk over it.
- Heat the Milk: Heat the milk and vanilla bean over medium heat until it’s steaming but not boiling.
- Temper the Yolks: Slowly pour a ladleful of the hot milk into the egg yolk mixture, whisking constantly. This process is called tempering and prevents the eggs from scrambling when added to the hot milk.
- Cook the Custard: Pour the tempered egg mixture back into the pot with the remaining milk. Cook over medium-low heat, stirring constantly, until the custard thickens and coats the back of a spoon.
- Strain the Custard: Pour the custard through a fine-mesh sieve into a bowl to remove any cooked egg bits or vanilla bean pod.
- Chill the Custard: Cover the custard with plastic wrap, pressing it directly onto the surface to prevent a skin from forming. Refrigerate for at least 2-4 hours, or until completely chilled.
Making the Stabilized Whipped Cream:
- Bloom the Gelatin: In a small bowl, sprinkle the gelatin over the cold water and let it sit for 5-10 minutes to soften.
- Whip the Cream: Pour the cold whipping cream into a clean, chilled mixing bowl. Use a handheld electric mixer or a stand mixer with the whisk attachment to whip the cream to soft peaks.
- Melt the Gelatin: Gently melt the bloomed gelatin in the microwave for about 20 seconds, or over a low heat on the stovetop. Do not overheat, as this will destroy its setting properties.
- Incorporate the Gelatin: With the mixer running on low speed, slowly drizzle the melted gelatin into the whipped cream. Continue to whip until stiff peaks form.
Mixing the Mousse:
- Loosen the Custard: Scoop about ¼ of the whipped cream into the chilled custard and gently stir to loosen it.
- Fold in the Whipped Cream: Pour the custard mixture into the remaining whipped cream. Use a rubber spatula to gently fold the two mixtures together until they are completely combined. Be careful not to overmix, as this will deflate the mousse.
Serving the Mousse:
- Scoop and Chill: Scoop the mousse into individual serving cups or glasses. Refrigerate for at least 2 hours, or until set.
- Garnish: Just before serving, top the mousse with fresh berries, finely chopped fruit, a dollop of whipped cream, shaved chocolate, or a sprig of fresh mint.
Notes
- Temper eggs slowly.
- Chill custard thoroughly.
- Use cold whipping cream.
- Gently fold ingredients.
- Chill mousse to set.
Ingredients and Preparation: Building the Foundation of Flavor
This recipe relies on a few high-quality ingredients that, when combined with care, create a truly exceptional dessert. Here’s a detailed breakdown with added tips and tricks to ensure success:
Vanilla Custard:
- Whole Milk: 1 ½ cups (12 fl. oz.). Whole milk provides the richness and creamy texture essential for a good custard. Use the freshest milk you can find for the best flavor.
- Large Egg Yolks: 4. Egg yolks are the key to thickening the custard. Separate the eggs carefully to avoid any egg white contamination, as even a small amount can prevent the custard from thickening properly.
- Sugar: ½ cup (100 grams). Granulated sugar adds the necessary sweetness to balance the richness of the egg yolks and milk.
- Cornstarch: 2 tablespoons (16 g). Cornstarch acts as a thickening agent, ensuring the custard sets to the right consistency. Measure it accurately to prevent lumps.
- Vanilla Bean: 1. A vanilla bean adds a depth of flavor that vanilla extract simply can’t replicate. Choose a plump, moist bean for the best results.
Stabilized Whipped Cream:
- Whipping Cream: 2 cups (16 fl. oz.). Use heavy whipping cream with a high fat content for the best results. Ensure it’s very cold before whipping.
- Plain Gelatin: 1 ½ teaspoons. Gelatin stabilizes the whipped cream, preventing it from deflating and ensuring the mousse holds its shape.
- Cold Water: 2 tablespoons. Cold water is used to bloom the gelatin, allowing it to dissolve properly.
Alternative Ingredient Suggestions:
Vanilla Custard:
- Milk Alternatives: For a dairy-free version, almond milk, oat milk, or coconut milk can be used. However, be aware that the texture and flavor will be different. Coconut milk will add a distinct coconut flavor.
- Sugar Alternatives: Honey, maple syrup, or agave nectar can be used as alternatives to granulated sugar. Adjust the amount to your taste, as these sweeteners are often sweeter.
- Vanilla Extract: If you don’t have a vanilla bean, use 1-2 teaspoons of high-quality vanilla extract. Add it after the custard has cooled to preserve its flavor.
- Cornstarch Alternatives: Arrowroot powder or tapioca starch can be used as substitutes for cornstarch. They are gluten-free and provide a similar thickening effect.
Stabilized Whipped Cream:
- Plant-Based Whipping Cream: For a vegan version, use chilled coconut cream or a commercial plant-based whipping cream. Ensure it’s very cold for optimal whipping.
- Agar Agar: For a vegetarian or vegan alternative to gelatin, use agar agar flakes or powder. Follow the package instructions carefully, as agar agar sets differently than gelatin.
Step-by-Step Instructions: Creating Your Vanilla Mousse Masterpiece
Making the Vanilla Custard:
- Separate the Eggs: Separate the eggs carefully, placing the yolks in a small bowl. Set aside the egg whites for another use or discard them.
- Whisk the Yolks: In a separate bowl, whisk together the egg yolks, sugar, and cornstarch until the mixture is smooth and lump-free. If the mixture is too thick, add a tablespoon or two of milk to thin it out.
- Prepare the Vanilla Milk: Split the vanilla bean lengthwise with a sharp knife and scrape out the seeds. Add the seeds and the pod to a small pot and pour the milk over it.
- Heat the Milk: Heat the milk and vanilla bean over medium heat until it’s steaming but not boiling.
- Temper the Yolks: Slowly pour a ladleful of the hot milk into the egg yolk mixture, whisking constantly. This process is called tempering and prevents the eggs from scrambling when added to the hot milk.
- Cook the Custard: Pour the tempered egg mixture back into the pot with the remaining milk. Cook over medium-low heat, stirring constantly, until the custard thickens and coats the back of a spoon.
- Strain the Custard: Pour the custard through a fine-mesh sieve into a bowl to remove any cooked egg bits or vanilla bean pod.
- Chill the Custard: Cover the custard with plastic wrap, pressing it directly onto the surface to prevent a skin from forming. Refrigerate for at least 2-4 hours, or until completely chilled.
Making the Stabilized Whipped Cream:
- Bloom the Gelatin: In a small bowl, sprinkle the gelatin over the cold water and let it sit for 5-10 minutes to soften.
- Whip the Cream: Pour the cold whipping cream into a clean, chilled mixing bowl. Use a handheld electric mixer or a stand mixer with the whisk attachment to whip the cream to soft peaks.
- Melt the Gelatin: Gently melt the bloomed gelatin in the microwave for about 20 seconds, or over a low heat on the stovetop. Do not overheat, as this will destroy its setting properties.
- Incorporate the Gelatin: With the mixer running on low speed, slowly drizzle the melted gelatin into the whipped cream. Continue to whip until stiff peaks form.
Mixing the Mousse:
- Loosen the Custard: Scoop about ¼ of the whipped cream into the chilled custard and gently stir to loosen it.
- Fold in the Whipped Cream: Pour the custard mixture into the remaining whipped cream. Use a rubber spatula to gently fold the two mixtures together until they are completely combined. Be careful not to overmix, as this will deflate the mousse.
Serving the Mousse:
- Scoop and Chill: Scoop the mousse into individual serving cups or glasses. Refrigerate for at least 2 hours, or until set.
- Garnish: Just before serving, top the mousse with fresh berries, finely chopped fruit, a dollop of whipped cream, shaved chocolate, or a sprig of fresh mint.
Beginner Tips and Notes: Mastering the Art of Vanilla Mousse
- Tempering the Eggs: Tempering the eggs is crucial to prevent them from scrambling. Pour the hot milk slowly and whisk constantly.
- Straining the Custard: Straining the custard ensures a smooth texture. Use a fine-mesh sieve for best results.
- Chilling the Custard: Allow the custard to chill completely before mixing with the whipped cream. This will help the mousse set properly.
- Cold Whipping Cream: Use very cold whipping cream for optimal whipping. Chill the bowl and beaters as well.
- Melting Gelatin: Melt the gelatin gently and do not overheat it.
- Folding Technique: Use a gentle folding motion to incorporate the custard into the whipped cream. Avoid overmixing.
- Setting Time: Allow the mousse to set for at least 2 hours. The longer it sets, the firmer it will become.
Serving Suggestions: Completing Your Vanilla Mousse Experience
- Berry Compote: Serve the mousse with a warm or cold berry compote for a fruity contrast.
- Chocolate Shavings: Garnish with dark, milk, or white chocolate shavings for a decadent touch.
- Toasted Nuts: Sprinkle toasted almonds, pecans, or walnuts over the top for added crunch and flavor.
- Caramel Sauce: Drizzle with caramel sauce for a sweet and sticky addition.
- Fruit Coulis: Serve with a fruit coulis, such as raspberry or mango, for a vibrant and flavorful sauce.
- Whipped Cream Variations: Add a dash of vanilla extract, almond extract, or liqueur to the whipped cream for a flavored topping.
- Layered Desserts: Layer the mousse with cake, cookies, or other desserts in a trifle or parfait.
Storage Tips for Leftovers:
- Refrigeration: Store leftover mousse in an airtight container in the refrigerator for up to 2-3 days. The texture may change slightly over time.
- Preventing Skin Formation: If storing for an extended period, place a piece of plastic wrap directly on the surface of the mousse to prevent a skin from forming.
- Separate Storage: Store garnishes separately and add them just before serving to maintain their freshness.
- Airtight Containers: Use airtight containers to prevent the mousse from absorbing odors from the refrigerator.

Conclusion: Share Your Culinary Creations!
This Vanilla Mousse recipe is a wonderful way to explore the world of dessert making and impress your friends and family. I encourage you to try this recipe and share your baking experiences in the comments below! I’d love to hear about your variations, tips, and tricks. Did you add any extra flavors, use different toppings, or get creative with the presentation? Your feedback is valuable and inspires other home cooks. Let us know how your mousse turned out and what serving suggestions you enjoyed most. Share your photos and tag me on social media so I can see your Vanilla Mousse masterpieces! Use #VanillaMousse and #EasyDesserts so I can find your creations. I also enjoy seeing your culinary adventures on Instagram stories, so feel free to tag me and show off your creations. Happy cooking, and I can’t wait to see what you create!


